
This post contains affiliate links

So, the time finally came to replace our kitchen tiles, and as the chipping off of the backsplash lifted the edges of the contact paper it was time to remove it. All along I had thought that this would be the perfect time to replace our counters as well, but when it came to it....well, I was totally happy with the contact paper, so why change it? I mean, a brand new shiny solid wood counter would be lovely, but was I willing to spend nearly a grand on it when I had such a fantastic alternative? No sir, no I was not.
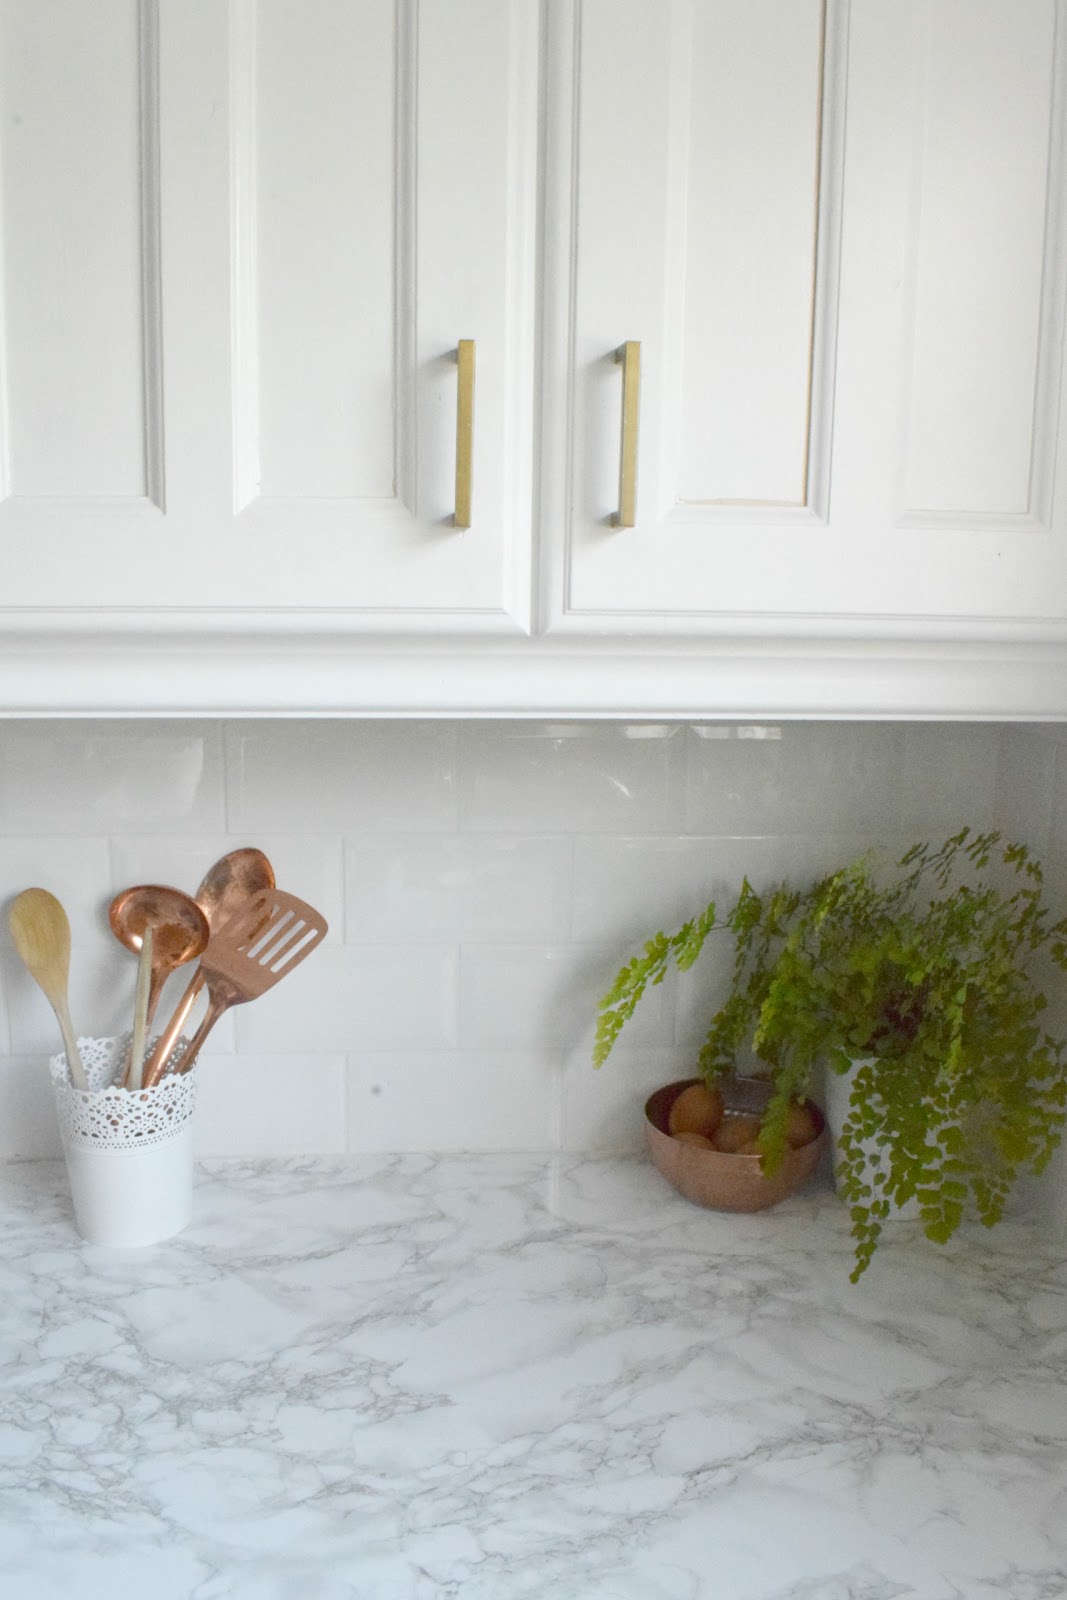
So I contacted the lovely people at d-c fix (they had gotten in touch last year offering to supply me with more paper if I ever had a suitable project) and I got them to send me a roll of their grey marble paper. I was absolutely delighted to discover that they do many patterns in a wider roll now, which meant I could cover my counters horizontally rather than vertically, meaning way less join points and consequently a much more seamless finish.
 |
| I'll leave an affiliate link for this product at the bottom of this post ;) |
I had loved the more dramatic black vein through the paper I had previously, but I'm liking the more pared back feeling I've got in the kitchen now with the light grey floor and white subway tile backsplash, so I thought a lighter pattern would really compliment that. I definitely wanted to stick with the marble pattern, mostly because I love it, but also because I think the pattern really helps hide any joins in the paper and gives it that seamless look.
So first, we had the fun job of removing the old paper, and after all the questions I've gotten about whether it really doesn't do any damage I was eager to see just how this would go. I gathered my crack demolition team and set to work....


So first, we had the fun job of removing the old paper, and after all the questions I've gotten about whether it really doesn't do any damage I was eager to see just how this would go. I gathered my crack demolition team and set to work....

It was really stuck on there! But once you get it moving it came off easily. We didn't have to use any scrapers or tools and it took about twenty minutes to uncover the whole thing. The d-c fix website does suggest you blast it with a hairdryer to aid removal but I didn't feel like we needed to do that.

And just to clear up any "will it damage what's underneath" questions, may I present to you a photo of some paint splashes that I was too lazy to remove before I covered the counter. As you can see they are completely unharmed after removing the paper....and I was able to scrape these off with a knife in seconds afterwards! So honestly I couldn't see this stuff doing any damage to any surface. And there was absolutely zero adhesive left behind anywhere either. I don't know how this stuff sticks, but it didn't leave so much as a residue that needed to be wiped.

 |
| Not a terrible counter by any means, but it still had to go! |
The process of applying the new paper was exactly the same as before, and you can find the tutorial here. I cut the pieces to size, peeled back a small section of the backing at a time and started to stick the paper down, smoothing out bubbles as I went with a credit card. If you find any when you're finished you can poke a tiny hole in it with a pin and remove the air that way, but getting it right while you are doing it is really preferable. The paper can be lifted and re-done many times so don't worry if you get a lot of bubbles at any point, just peel the paper up past that point and lay it back down, being more careful to work the air out as you go.
I left a small edge where the paper met the wall/any edges, and went back over that with a craft knife at the end, trimming off the excess. As the roll was so wide this time, technically I could have done the whole thing in two pieces, and I did try, but I found it much too difficult to get a good finish around the cooker and sink this way, so I ended up using more than one piece for each counter, but I still ended up with a hell of a lot less in the way of joins than I did the last time I did this.
And that was that, two hours after I started I had brand new marble counters once more, and I'm loving them! I think the lighter colour really compliments the light grey in the floor now, and I' sure I'll be happy with them for the next two years at least!


If you liked this you might also like:


