Friday 29 May 2015

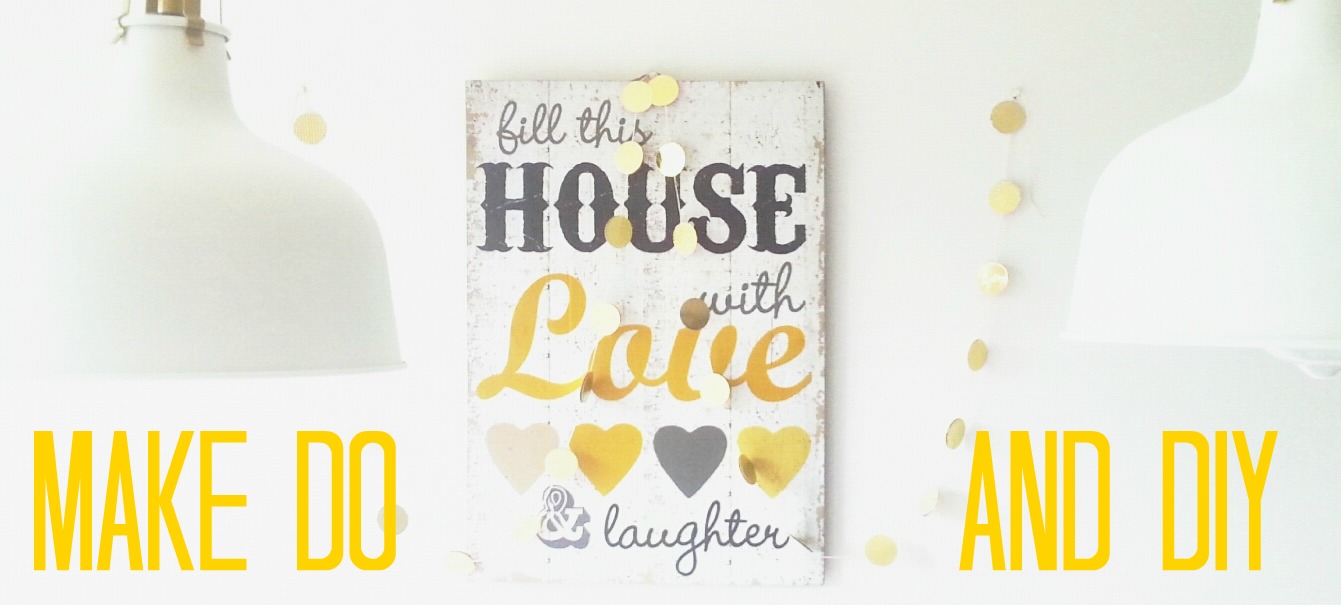
Funfair style artwork for Em's room


This isn't so much a diy post as a "look at the cool thing I got" post!

 My artistic skills run more towards the abstract (i.e. I can throw paint at a canvas but that's about it) so this is the work of someone with infinitely more talent in this area...my mother.

This kind of art is something that she used to do a lot of, but she hasn't really done it seriously since I was small. I always planned to ask her to do this once Em had her own room and thankfully she agreed!


I've always loved this style of lettering, and it seems to be quite popular at the moment, but it has the extra little bit of meaning for us which is lovely.


I love the little edge of gold on the letters that catches the light.


I'm really happy with it. My mother used colours to complement Emilia's room as it is at the moment, but I think this particular piece of art will grow with her, and she loves that her granny made it for her!


All these photos had to be edited cos she wouldn't wear pants...I'm not even joking.


On a purely practical note, it's painted on a really light piece of particleboard and it's stuck up with three command strip picture hanger velcro thingies. It's light and I wanted it flush with the wall so this is perfect.


We're finishing up her room slowly but surely, and there's a couple of cool projects I have to share with you as soon as I can get them completely finished and photographed.

 Anyone having trouble finding rugs or curtains that are both individual and don't cost the earth? I have the tutorials for you!


'till next time ;)

Linda

Wednesday 27 May 2015

Kids room gallery wall


Happy Wednesday! 

Just a quick little post today about the art I used to fill the empty wall over the dresser in my daughter's room.


 But before we get to the good stuff, I just want to say that when it comes to a posting schedule....well, I don't have one! Subjects for posts come up as I complete projects, and when something appears on the blog it's most likely cos I've just finished it!

 And also the kids are in bed and I'm not too tired to type ;)

So while I'm pretty confidant that I'll be posting at least once a week (more when I'm feeling especially energetic!), I can't guarantee when those posts will be ready. I really want to keep things as filler-free as possible, you know, quality over quantity ;)

 So please bear with me, and rest assured, I will post, promise!


On to the prettiness!


When we moved in here back in October we painted Emilia's room white so that I could change it up really easily just by swapping out soft furnishings or giving the furniture a quick lick of paint, and save myself the trouble of painting the whole room every time I changed my mind or wanted to try something new, which happens approximately, oh, every day!

So to that end I painted an old dresser that my mother in law gave to us when we first moved in. It still needs to be varnished to protect it from the dirt-demon that is my daughter but it's pretty, and adds a great pop of colour in the room. It sits on the wall opposite her bed, and the blank space above it was just crying out for some art, but what to use?

There were already animal paintings, family photos and a pinboard on other walls, so I wanted something a bit different. 


Taking a decent photo of something behind glass is obviously not in my skill set. Alas, I was too lazy to remove it.


I had always, always loved this quote from "A midsummer night's dream", and from pretty much the minute Em was born it was clear that it could have been written with her in mind!

So I headed over to Etsy to try and find a print of it I liked and came across Designee, and awesome shop that sells all kinds of printed art and quotes, as well as vinyl wall stickers (I got the gold dots for Em's wall there too-totally removable, I love them!), and the best thing is that everything is customisable, so you can order exactly what you've been wanting. And the ABSOLUTE best part? Anything can be done in gold foil! I was so excited! Really, it doesn't take much.....


2 inch gold dots, 120 for $28
So I ordered me up my Shakespeare quote, and also a "be brave", cos out of all the things I would like her to be, I think brave is a really important one. I also got a second "be brave", and all in the gold foil, 8.5 x 11, portrait style, and the total plus shipping was $33.50. Bargain!


The gold foil is really pretty and catches the light, but I didn't get a good photo of it.

I framed them in nice deep frames I got in B&Q. They were on offer, two for €12, so I bought 10 of them!

I then had to decide how to hang them, and I thought it would look good to use some of my stash of frames to do four of the exact same size over the dresser.

As for what would go in the other two frames, I thought I'd stick with the typographical theme and find a way to use wooden initials I had bought a while back, not knowing what I'd do with them.


So I painted them in the colours I was using for the room, and then came up with a background of gold dots for them, to mirror the wall opposite.

I had these dots left over from Christmas. Ikea were selling them in packets so I bought a few to make garlands from. You could get the exact same effect with gold card and a circle paper punch though.

I framed the circles and then just stuck the letters to the glass with blu-tac :)


And there you have it, a simple little gallery wall that picks up the themes in Em's room. I'm really happy with it :)


See the dirty marks on the dresser?! The shaaaaame!!


What quote would you use on a kids wall? I'm doing my baby sons room at the moment and I need ideas!

Linda xx


p.s: I'm not paid to endorse Designee's shop or anything, I just found her and was genuinely happy with what I got.

Monday 18 May 2015

Half hour retro table makeover


Now, full disclosure, when I say half hour I mean work time, not counting the bit of drying time in between coats ;) 


So.....


While having my regular nose around the Limerick Animal Welfare charity shop a couple of weeks ago I came across this little beauty for €10.


Pardon my hideous 90's tiles, they're next on the big job list!


And that my friends is why this is my favourite charity shop. Nine times out of ten when you call in there there's nothing but a lot of rubbish, but on that tenth visit you might just be in the right place at the right time and pick up a gem.


They don't have a lot of room, and they haven't gotten as picky with what they accept as donations as other charity shops have so the shop is often filled with....well junk! But the pay off is that they price things really low in order to get rid of them as quickly as possible, so you might just get lucky!


I've gotten a LOT of my furniture there over the last year.


So when I saw those hairpin legs peeping out from under a pile of old toys I snapped it up quicker than you can say "mine!"


The legs were a muddy brown colour and the top was horrible laminate that was mouldy underneath, but I knew I could make it beautiful with just a little work.


So I sprayed the base gold (act like you're surprised), after a coat of spray primer, and then I focused on getting the top looking, well, less disgusting!


Now, I love marble top tables, I think they are just so glamorous, but unfortunately having marble cut to size wasn't in my budget! Thankfully I had seen a post over on Swoonworthy where she had used marble effect contact paper on her vanity to jazz it up, and it looked great! So I took myself off to Guineys and bought a metre of some nice blue/grey stuff that I liked the look of.


I laid it out under the table top and cut around it, leaving a slight lip.


Now, this is the part of the project where you're going to need the help of a crazy haired child in pyjamas. If you don't have access to one I cannot in good conscience advise that you continue. Their help, good people, is essential to the success of this project! ;)

She needed an apple halfway through, to keep her strength up I presume.


So I peeled off the backing and carefully applied it to the top, before using a bank card to rub the paper, forcing any bubbles out towards the sides. If you have stubborn bubbles the paper can be lifted off slightly and re-attached, rubbing with the card as you go to force the air out, but the marble pattern is actually really forgiving so if you can't get it perfectly smooth I wouldn't worry about it too much, I don't think it would be noticeable.


When I was happy that all the bubbles were gone I ran the card around the edge in order create a bend in the paper, then i took a craftknife and carefully cut away the excess.


Then, after a quick prime and spray paint of the underside it was finished.


Voila!!


I tried it out in Em's room too, but it's better in the guest room for the moment.


I think it's really cute. At some point in the future I might paint the legs a really vibrant colour, like a fuschia pink, but for the moment this fits in perfectly with my home, and it will be very useful in the guestroom, where it's doing double duty as both a vanity and a radiator cover!


Ever rescued something from a charity shop? I'd love to hear about it!


Linda
xx


The Dedicated House

Friday 15 May 2015

Easiest upholstered headboard tutorial/cheat, promise!


So today I'm going to show you the easiest way to re-upholster a headboard. It's so easy that it's basically a cheat, and while it may not be the "proper" way of doing things it most certainly worked and I'm delighted with it! And as one of my fave bloggers over at the nesting place is so fond of saying "it doesn't have to be perfect to be beautiful", and I couldn't agree more. So here we go......


As Max got bigger and needed to move out of the moses basket and into a cot, we decided that the time was right for Emilia to get a big girl bed, freeing up her cot for Max. There was no way we were going to buy a second cot when Em was nearly three and able to climb out of hers anyway, and neither were we going to use the travel cot for Max in his room. It's fine, but it's ugly. So it was time to bite the bullet and buy a single bed.


Now, the minute I knew we were getting her a bed I started thinking about what would be the best option, both style and function wise, and decided on a divan or a wooden framed bed without a headboard, the idea being that I could hang one on the wall behind the best and therefore have it be really easy to update as her room changed.


And the minute I knew I had free reign with the headboard situation I knew I wanted a really luxe, over the top vibrant velvet upholstered headboard. I've always loved the style, and I thought in a kids room it would stop if from being too "little girl" while still being really colourful and fun.


So I kept my eye out, not sure how I was going to go about it, and then one day I was nosing around the LAW charity shop and found the perfect solution....a single headboard in a gorgeous shape and great condition in the exact style I wanted, for three frickin euro!!! The lady in the shop told me they often get them in and have trouble selling them, so it was cheap. 


Only problem was the colour. It was an olive green, and while I actually really liked it as it was I had set my heart on something really bright for the room (Em's room is coral pink/white/gold) it had to be changed.


So I went on Ebay and ordered up a metre of beautiful mint green velvet, thinking that it would be a real statement, and then I could bring the colour into the rest of the room with accessories.


The velvet arrived, the colour was perfect, I had all my materials (stapler and fabric!), I was good to go.

And then I made my first mistake...I cut out the shape I would need after laying it over the headboard, not taking into consideration that it would have to be forced down into the button hols, so this wouldn't be enough.

Nightmare!

Noooooooooo!!!!!!


And while this would have been fixable by just pulling the material tight and stretching it, that meant that there was too much strain on the staples in the buttonholes, and it started to rip! 

(I had bought dressmaking fabric rather than upholstery/curtain fabric which is much more robust as I couldn't get the colour I wanted in it)

Double nooooooo!!!!!


So it was back to the drawing board, and this time I chose a coral pink velvet (€4.99 a meter in Guineys) as it had turned out I wasn't that happy with the mint green in the room anyway.


This time I was determined to not mess it up!


So I ironed my fabric, even though ironing is one of my very least favourite things to do!


This child better LOVE her room! I only iron on VERY special occasions.


The I dug out my trusty hot glue gun.....


....and laying the fabric over the headboard with plenty of extra over all the edges, I simply started from the middle and glued the material on... I didn't even remove buttons, I told you this was a cheat!

Liquid fire, a.k.a hot glue


To hold the fabric in place while the glue dried (hot glue is approximately as hot as the surface of the sun) I found the inside of a childrens Nurofen syringe was perfect! Happily this was sitting by the sink when I was looking for something to do this job :)


                                 Then I had a toddler inspect my work with a pencil......


Now, if I had thought about it a bit more I would have realised that if I worked up/dpwn/up/down the lines between the buttons would have been much more even, but whatever, I think it's fine :P


I then flipped the whole thing over, trimmed the excess fabric off and then pulled what was left tight before stapling top and bottom in the middle to start with, then worked the whole way around, pulling it tight and smoothing the edges as I went.


                                                            And there she is!


It could be smoother, and the lines a bit more even, but I think it's gorgeous anyway! It took around an hour, not counting my first attempt, and I think it's going to really pull Emilia's room together.


It cost €9 total, and if I had just slowed down and actually thought it through before I started the first time I could have saved myself a lot of trouble! This was a project that I had convinced myself was going to be so easy that I was way too confident and ended up sabotaging myself. But now I've told you what not to do so it should be easy peasy for you ;)


I should hopefully have a full reveal for Emilia's room up sometime next week, still have a couple of projects to finish for it.


So tell me what you think, I love comments almost as much as I love it when a plan comes together ;)

Linda xx


The Dedicated House

Wednesday 13 May 2015

Super simple Ikea Rast hack


 I love Ikea.


Like really love it.


Like as in have its functional, reasonably priced babies love it.


During the two years when we were trying to buy a house I spent a lot of time thinking about how I wanted our house to look, and what I wanted to fill it with. Unfortunately we weren't going to have the budget to just buy whatever we wanted straight off, we were going to have to be creative! We were going to have to find pieces that were inexpensive, but still stylish and decent quality, and to my mind you can't really beat Ikea for that.


So I had spent quite a lot of time on the Ikea site, and also on pinterest, checking out what was available and what could be done with it....and one thing that kept cropping up was the humble Rast dresser and the many things that could be done to it to jazz it up, from basic painting and staining to more adventurous ideas like adding mirror or overlays.


The Rast is solid raw pine and is priced at €25.....yes €25!! That's a fantastic price for solid wood furniture, and the fact that it's unfinished is the biggest selling point for me as it leaves you with unlimited possibilities as to what you can do with it, bedside table, hall table, dining room sideboard, the list is endless.


What we really needed was extra clothes storage in our bedroom, so we decided to buy three Rasts to go along the big blank wall beside the bed, where there was a slight alcove that they would fit into perfectly. 


As the room was painted a dark grey all over I decided to stick to bright white and gold as the colours for the furniture, curtains and bedding to stop the space feeling too dark. With that in mind I wanted to paint the dressers glossy white, with gold cup pull handles and gold brackets on the corners of the drawers.


So I removed the original handles (and kept them, cos you never know...) and filled the holes with wood filler, let it dry and then sanded it flush with the wood.


I then painted everything with one thick coat of this....


...which was a big mistake! It stank to high heaven, took 3 days to dry and had a really disappointing finish. Lesson learned, if something seems too good to be true, it probably is. There really is no way to cut corners if you want a good paint finish. If I was to do it again (and I will, cos I want two of these together in our entryway) I'd give them a serious sanding first, coat them with this primer.......


.....and then do 2-3 thin coats of a water based white gloss to finish them off, giving another light sanding with very fine sandpaper just before the last coat to make sure to end up with a really glossy finish. In the long run I know it'd give a much better result.


When the paint finally dried took these cup pulls (got them on ebay from China, they were around €20 for 12 of them)


 ...and these corner brackets


Bulk Hardware 50mm/ 2-inch Flat Corner Repair Brackets Zinc Plated (Pack of 15)


(2 inch flat corner right angle bracket/brace-again I got them on ebay as it was much cheaper, around €10 for 50 of them) and sprayed them with my trusty rustoleum bright gold spray paint, and once they were dry Gavin attached them.


side note-I recently tried out the plastikote on the right as it was only €3 a can in Woodies, but I won't be buying it again. The colour was much brassier than the rustoleum and not nearly as nice, and the nozzle kept getting clogged as I used it.


And here you have them!


Despite the poor paint finish I really love them, and they currently store all of Gavins clothes so they're really functional. Despite the mistakes I made it was a relatively simple project and I'd expect that the next time I do this it would only take a few hours, total.


Ever attempted an Ikea hack? I'd love to hear about it in the comments ;)


Linda

Sincerely, Paula

01